


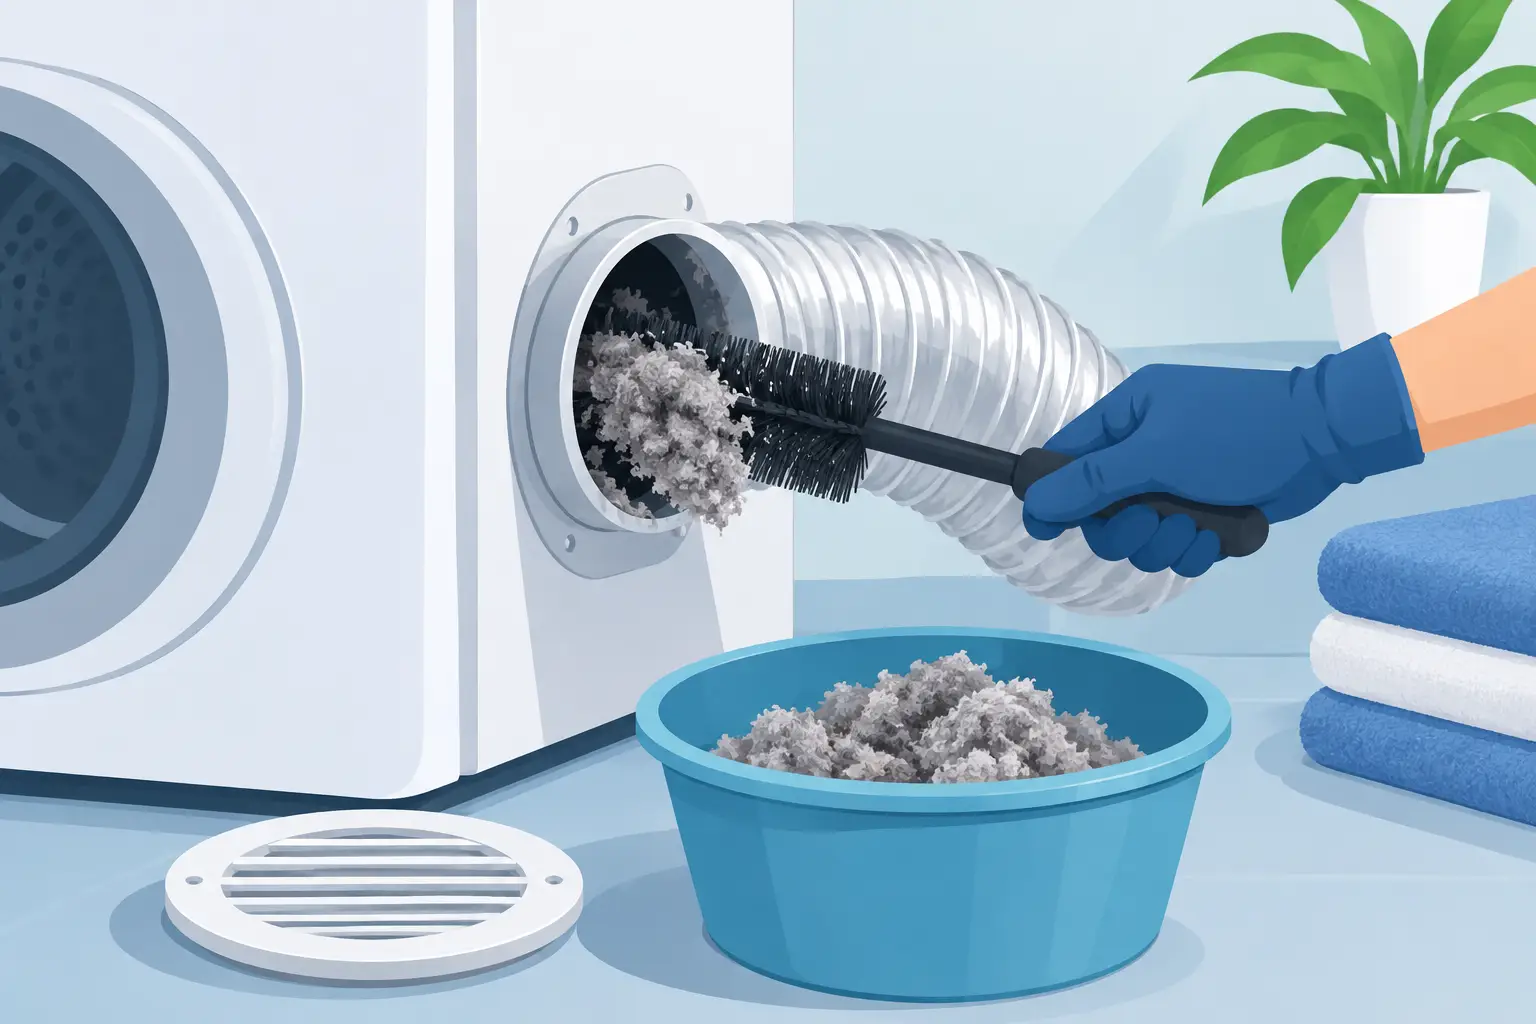
A dryer that takes two or three cycles to finish a normal load is doing more than wasting time. It may be warning you that lint is restricting airflow where you cannot see it. Learning how to remove lint from dryer exhaust can reduce a serious fire risk, help your clothes dry more efficiently, and ease unnecessary strain on the appliance.
The lint screen catches a lot, but it does not catch everything. Fine fibers move past the screen and collect inside the dryer, in the transition duct behind it, and along the exhaust path leading outdoors. In Texas homes, where dryers often run hard for busy families and laundry rooms may be located in tight interior spaces, a neglected exhaust system can become a costly safety issue.
Why Dryer Exhaust Lint Is a Real Safety Concern
Lint is highly combustible. When it builds up in a dryer exhaust duct, hot air and moisture cannot escape as designed. The dryer has to run longer, internal temperatures can rise, and lint may sit close to heated components. That combination is why dryer vent maintenance belongs on a homeowner’s safety checklist, not just a cleaning list.
Restricted airflow also affects everyday comfort and operating costs. You may notice hotter laundry-room temperatures, a musty smell on clothing, excess humidity, or a dryer that feels unusually hot to the touch. Longer cycles use more electricity or gas, depending on the appliance, and can shorten the useful life of parts that are forced to work harder.
A clean lint screen does not prove the exhaust path is clear. The screen is only the first layer of protection. A blockage can be several feet away, at a bend in the duct, inside an exterior hood, or near the roof exit.
Signs You Need to Remove Lint From Dryer Exhaust
Do not wait for a complete blockage. Pay attention if clothes remain damp after one normal cycle, especially towels, jeans, and bedding. A burning odor, excessive heat, or a dryer that shuts off before the cycle is complete also deserves immediate attention.
Outside, check the vent hood while the dryer is running. You should feel a steady flow of warm air. If the flap barely opens, airflow is weak, or lint is visible around the hood, the system may be restricted. Birds, insects, leaves, and damaged vent covers can create similar symptoms, so the entire route needs to be checked rather than assuming lint is the only cause.
For most households, dryer vent cleaning should be scheduled at least once a year. Homes with large families, pets, frequent laundry loads, long duct runs, or multiple turns may need service more often. There is no single schedule that fits every home, but declining dryer performance is always a reason to inspect the exhaust system.
How to Remove Lint From Dryer Exhaust Safely
Start by turning off the dryer and unplugging an electric model. For a gas dryer, turn off the gas supply only if you are comfortable doing so, and avoid disconnecting the gas line. If the appliance must be moved, have another adult help. Dryers are heavy, and pulling too hard can damage flooring, crush a duct, or loosen a gas connection.
Remove and clean the lint screen first. Wash it with warm water and mild dish soap a few times each year, particularly if you use dryer sheets. Fabric-softener residue can form a nearly invisible coating that limits airflow through the screen. Let it dry completely before putting it back.
Next, use a vacuum with a narrow crevice attachment to clean the lint trap housing. Reach only as far as the tool safely allows. Do not push sharp objects into the opening, and do not run the dryer without its lint screen in place. A flexible lint brush can help with light surface buildup, but it will not clean the full exhaust duct.
Carefully pull the dryer forward and inspect the short connector between the machine and the wall. A rigid or semi-rigid metal connector is generally the safest choice because it resists crushing and handles heat better than thin plastic or foil-style material. If the connector is crushed, torn, excessively long, or packed with lint, it should be replaced rather than patched.
Disconnect the connector at the dryer and wall, then vacuum loose lint from both ends. Clean the exterior vent hood as well, removing visible lint and checking that the damper flap opens freely. Never cover the exterior hood with a screen or mesh. It may seem like a way to keep pests out, but it can trap lint quickly and restrict the exhaust.
For a short, straight run, a dryer vent brush kit may help remove some buildup. Feed the brush gently and slowly, following the duct rather than forcing it around turns. If you meet firm resistance, stop. Aggressive brushing can disconnect joints inside a wall, puncture flexible ducting, or compact lint deeper into the line.
After reconnecting the duct, make sure joints are secured properly and the connector is not kinked when the dryer is pushed back. Run a short air-only or low-heat cycle, then check the exterior hood for strong airflow. If the flap does not open fully or drying times are still long, the blockage is likely farther inside the system.
When DIY Cleaning Is Not Enough
A homeowner can usually handle lint at the screen, lint trap housing, and accessible connector. Cleaning the full dryer exhaust is different. Many systems travel through walls, attics, crawl spaces, garages, or up to a roof. Long runs and sharp turns give lint more places to collect, and they are difficult to clean completely without specialized equipment.
Professional service is the safer choice when the duct is concealed, the vent exits through the roof, the dryer is gas-powered, or you suspect a major blockage. It is also wise to call for help if you notice scorching, a burning smell, a disconnected duct, water collecting around the dryer, or recurring performance problems after basic cleaning.
A trained technician can inspect the full route, use professional rotary brushes and high-powered vacuum equipment, verify airflow, and identify duct materials or configurations that may not meet current safety expectations. This matters because a clean system can still perform poorly if the duct is crushed, too long, or routed with unnecessary bends.
For Dallas-Fort Worth homeowners, On Time Home Experts provides professional dryer vent cleaning designed to remove accumulated lint and restore proper airflow without guesswork. A qualified service visit is particularly valuable when your dryer exhaust has not been cleaned in years or you simply do not know where the duct runs.
Habits That Keep the Exhaust Clear Longer
The simplest habit is to clean the lint screen before every load. Avoid overloading the dryer, since tightly packed clothes can shed more lint and dry unevenly. If possible, use lower heat when fabric care instructions allow and remove loads promptly so you are not rerunning cycles that did not need extra time.
Vacuum around and behind the dryer periodically. This keeps loose lint from being drawn into the appliance and gives you a chance to spot crushed ducting, damaged vent covers, or signs of moisture. If you have pets, expect more frequent maintenance because pet hair mixes with textile fibers and can build up quickly.
Do not treat longer drying times as a normal part of owning a dryer. They are often the earliest, most useful signal that airflow needs attention. Addressing the issue promptly protects your appliance, helps control energy use, and, most importantly, gives your family a safer laundry room.