


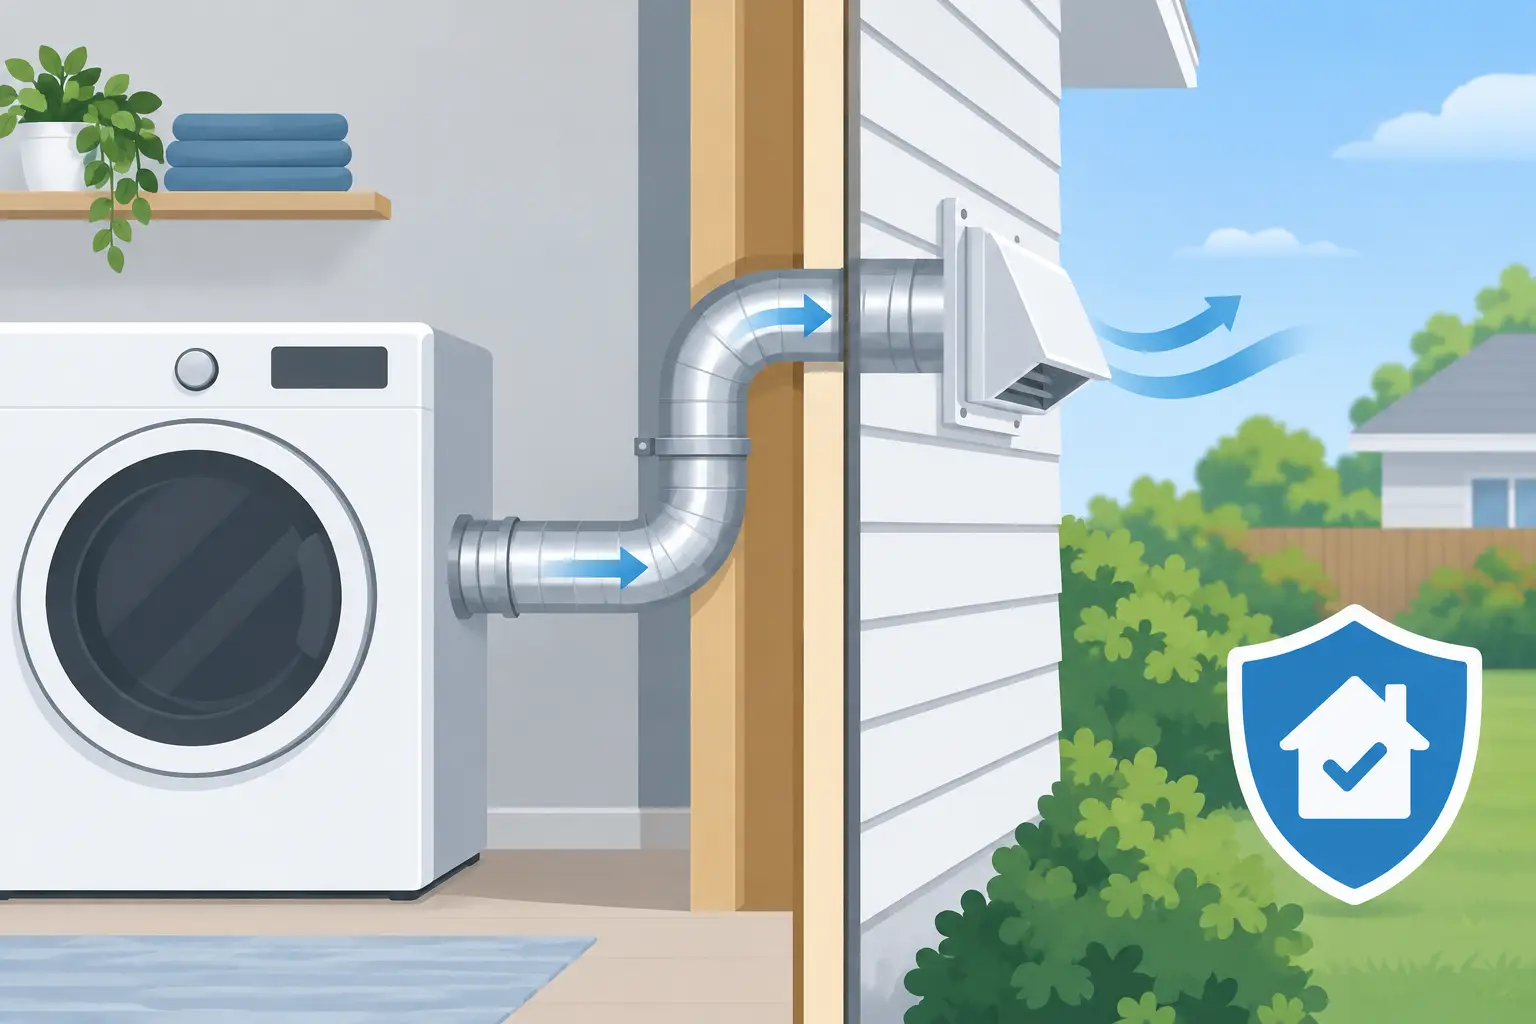
A dryer that takes two or three cycles to dry a normal load is not always failing. Often, the problem is the path behind the appliance. This dryer vent routing guide explains how a properly planned exhaust route helps protect your home from lint buildup, excess moisture, higher utility costs, and a preventable dryer fire.
For Dallas-Fort Worth homeowners, this is more than a convenience issue. Long runs through hot attics, crowded laundry rooms, and aging vent materials can make a dryer work much harder than it should. The best route is usually the shortest practical path to the outdoors, but the details matter just as much as the distance.
Why Dryer Vent Routing Matters
A clothes dryer removes moisture by pushing warm, humid air outside. It also pushes fine lint through the vent system. When the duct is too long, crushed behind the dryer, filled with sharp turns, or routed into the wrong area, airflow slows down. Lint settles inside the duct, heat builds, and moisture may collect where it does not belong.
Poor routing can lead to several frustrating and costly problems: longer drying times, overheated clothing, elevated energy bills, mildew around the laundry area, and premature wear on the dryer. The most serious concern is fire risk. Lint is highly combustible, and restricted airflow can cause a dryer to run hotter than intended.
A clean vent is essential, but cleaning alone cannot correct a poorly designed route. If a vent has unnecessary turns, an unsupported flexible connector, or an improper termination point, it may continue to collect lint quickly after service.
The Dryer Vent Routing Guide Homeowners Need
A safe dryer vent route starts at the dryer connection and ends at an exterior exhaust hood. The route should carry air outdoors with as little resistance as possible. That means limiting total distance, reducing turns, and using materials that can handle heat and resist lint accumulation.
Keep the Route Short and Direct
Every additional foot of duct and every elbow add resistance to airflow. A straight exterior wall behind or near the laundry room is usually the simplest and most effective routing option. However, many Texas homes have interior laundry rooms, second-floor laundry spaces, or layouts that require the vent to travel through walls, ceilings, or attic areas.
In those cases, the route must be planned around the dryer manufacturer’s maximum allowed vent length. This length is not a single universal number. It depends on the appliance model and the number and style of elbows in the run. A 90-degree turn creates much more resistance than a straight section, so a long route with several turns may exceed the dryer’s capacity even if the duct looks reasonable at first glance.
A professional should measure the full route, account for every fitting, and confirm that the installation meets the dryer manufacturer’s requirements and applicable local building standards.
Use Smooth, Rigid Metal Ducting
The concealed portion of a dryer vent should generally be smooth-wall, rigid metal ducting. Its interior surface allows air and lint to move more freely than flexible materials with ridges. Rigid metal also holds its shape, which helps prevent sagging and hidden restrictions.
Flexible foil or plastic-style ducts are common trouble spots. They can tear, collapse, trap lint in their ridges, and restrict airflow when a dryer is pushed too close to the wall. Plastic or vinyl ducts are not appropriate for dryer exhaust because of their fire risk.
A short, properly installed transition connector may be used between the dryer and the wall connection where permitted, but it should remain visible and accessible. It should never be crushed behind the machine. If you cannot move the dryer without compressing the connector, the appliance needs more clearance or a better connection arrangement.
Limit Turns and Avoid Sharp Bends
Elbows are sometimes unavoidable, especially in tight laundry rooms. The goal is to use as few as possible and make each turn as efficient as the space allows. Sharp, cramped bends slow airflow and create places for lint to collect.
Long-sweep fittings can help reduce resistance compared with abrupt turns. The route should also be supported at appropriate intervals so it does not sag. A low spot in a duct can become a lint trap and, in some situations, allow moisture to collect.
Avoid using fasteners that protrude into the interior of the vent. Screws can catch lint and create a buildup point. Properly secured joints should be assembled so airflow moves over smooth connections, then sealed on the outside with suitable metal tape rather than ordinary cloth-backed duct tape.
Where a Dryer Vent Should Exit
A dryer vent must terminate outdoors. It should not discharge into an attic, garage, crawl space, chimney, wall cavity, or any enclosed area. Sending moisture and lint into these spaces can contribute to mold growth, material damage, poor indoor air quality, and fire hazards.
The exterior termination should have a functioning damper that opens while the dryer runs and closes when it is off. The hood must remain accessible for inspection and cleaning. It should also be positioned away from places where exhaust could be drawn back into the home, such as certain windows, doors, or fresh-air intake locations.
Homeowners sometimes add screens to keep insects or pests out. While the intention is understandable, screens can catch lint quickly and restrict airflow. A dryer vent hood designed for dryer exhaust is the better choice. If you notice lint collecting around the exterior hood or the damper barely opens during a cycle, schedule an inspection instead of simply removing lint from the surface.
Common Routing Problems in Texas Homes
Texas homes present a few recurring dryer vent challenges. In homes with laundry rooms near the center of the floor plan, vents may travel a considerable distance through an attic before reaching an exterior wall or roof. Attic heat can stress the dryer, while long duct runs make routine cleaning more important.
Older homes may have outdated flexible ducting, poorly connected joints, or vents that were altered during a remodel. A new cabinet layout, flooring change, or replacement dryer can also create an unseen pinch point behind the appliance. In multi-story homes, the added vertical distance and turns deserve careful attention.
Roof terminations can work when no practical wall route exists, but they are typically harder to access and maintain. They need to be installed correctly, protected from weather intrusion, and inspected regularly. A wall termination is often easier to service, but the right choice depends on the home’s layout, exterior materials, and code requirements.
Signs Your Route Needs Professional Attention
You do not need to see a pile of lint to have a vent issue. Watch for changes in how the dryer performs. A hot laundry room, a burning smell, unusually hot clothing, visible lint around the dryer, or a dryer that stops mid-cycle can all point to restricted airflow.
Other warning signs include condensation on nearby windows, a musty odor in the laundry area, and an exterior vent flap that does not open fully. If the vent has not been cleaned in a year, or if your household does frequent laundry, it is wise to have the system checked even without obvious symptoms.
Professional dryer vent service should include more than a quick brush at the exterior hood. The technician should evaluate the accessible route, remove accumulated lint, check for crushed or damaged sections, and identify routing issues that affect safety or efficiency. For a long or complicated run, camera inspection and airflow testing can reveal restrictions that are not visible from either end.
When Cleaning Is Not Enough
Cleaning restores airflow when lint is the main problem. Rerouting or repair may be the smarter investment when the duct is excessively long, made from unsafe material, disconnected inside a wall or attic, or built with too many restrictive turns.
This is especially true if you have had repeated clogs or continued long drying times after cleaning. Replacing a bad section with smooth metal ducting or improving the route can reduce maintenance needs and help the dryer operate as designed. It may also protect a newer dryer from unnecessary strain.
On Time Home Experts helps homeowners identify dryer vent conditions that need cleaning, repair, or a safer routing solution. A trained technician can give you a clear explanation of what is happening behind the wall and what steps make sense for your home – with no guesswork and no hidden surprises.
A dryer vent should stay out of sight, but it should never be out of mind. When the route is short, secure, properly vented outdoors, and professionally maintained, every load has a clearer path to dry safely and efficiently.